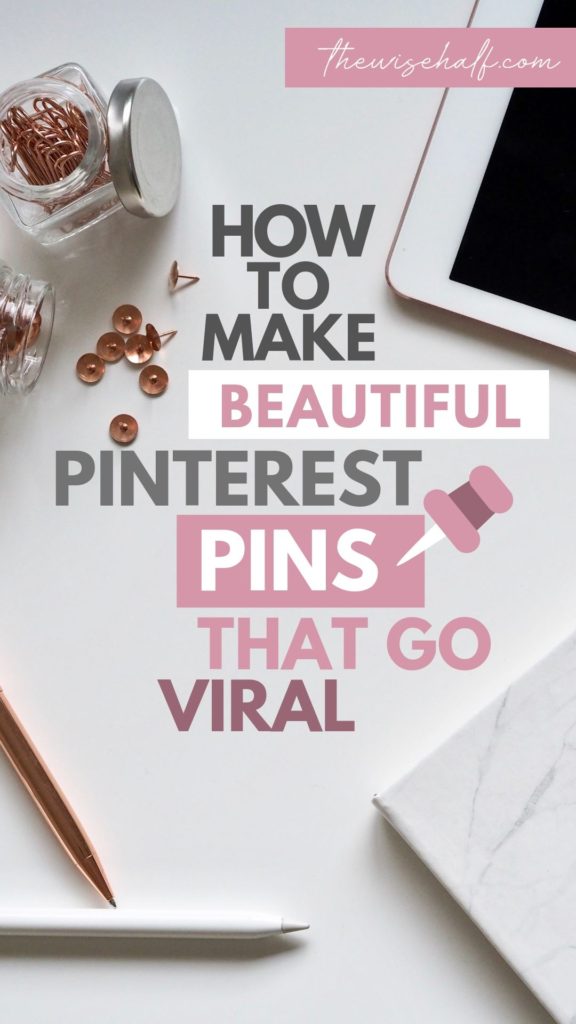
Why are awesome, click-worthy pins important? Because they bring a lot of attention, A lot of attention means more saves, More saves mean a lot of clicks and more clicks means TONS OF TRAFFIC! With the changes on Pinterest, We should all learn to adapt to the changes and create better click-worthy pins.
Remember, no matter how good your Pinterest strategy is or you use a scheduling tool. These are all useless if your pins are too boring. I’ve been there and I’m not saying my pins are perfect.
Many bloggers teach so many different kinds of styles of branding and all. And they are all great and effective. But my way is tested and effective as well.
This post may contain affiliate links see affiliate disclosure here. which means I may receive a small commission for clicks made through my links. they are good products and all our opinion and suggestions are unbiased I only share products and services that I use, trust and love.

Here are the 6 Simple steps to create stunning pins.
1. Finding Images.
First, let’s begin with finding the right images. If you’re a new blogger you may want to grab images from websites that allow free images for commercial use.
I use these free sites to get free images. You can choose from any of them and find the perfect image for your pin. Or you can create an account from pic monkey for more beautiful images
2. Choose the right image.
Pinterest associate images with keywords and the images itself. It means you need to find images that are exactly related to your blog topic. For example, if your blog topic is chocolate lava cake then you have to at least take a picture of your recipe or look for an image with the chocolate lava cake. If it’s not yours make sure to give credit on your blog post.
Let say your topic is 5 easy cleaning hacks. Then, you can choose a messy home image or someone cleaning or anything related. If you want a simple image then just look for a cleaning brush on a blank background. This will give enough space for your letters/fonts to pop up.
3. Save the image with the right keywords.
Third, Make sure to save the image with the right keywords, as well as the alt text when you upload them on your blog. Why? This will help Google and Pinterest find your images based on what the readers need. Don’t just save the image with random numbers or the name of the owner of the image. It just won’t help you rank on google.
4. Go to Canva.
Yes. Just like everybody else. This is where I started, simply because It’s easy to use and it’s free. But you can also upgrade to premium if you want more access to all their cool stuff. Upload your image and choose the Pinterest pin size or you can manually put your own size.
Usually, I would suggest you make tall pins. But, nowadays Pinterest recommends 600px wide x 900px high. Because it can easily be seen without cutting the whole image as it shows on the Pinterest newsfeed. But lately, They say there’s no perfect size for pins.
They just mentioned that longer pins might truncate. So the best thing you can do is try both. You can create tall pins (but not too tall) and short pins. I noticed that a combination of tall and short pins works best for me. Finally, Make sure that you can easily convey your message with the right fonts.
5. Add Text Overlay on your images
Remember that most people use their phones to browse. A simple image without text may get unnoticed. So use a text overlay in a simple but readable way. Alright, I know most of you may notice how my pins aren’t simple (lol).
Like what I’ve mentioned before you have to find which ones work for you. Most bloggers do the clean and simple way which is very effective. But I find my pins effective as well. I was thinking of changing my brand soon.
6. Put your logo.
Finally, put your logo on every pin. And avoid putting your logo on the lower corners as they can get covered up when people see the pin in their newsfeed.
Here’s a sample of my pin before:

And Here’s a screenshot of my new pin:

Just look how awful my old pins are. Once you get the hang of it you’ll notice that you change as you grow and you learn which color suits your blog and yourself. Remember to always remember which colors bring you the most traffic and play with it. sooner or later you’ll find your brand.
Learn how to skyrocket your traffic with this article on How I did it.


Please explain how you put txt overlays on images…..probably very easy but I would love to hear/see….Please? xx
Hi Vicky,
If you have a canva account it has text overlays that you can choose from, and where you’d like to put them. I will try to make a video out of this and will reply back again to you asap.